
That shady area beneath your second-story deck? It’s not wasted space—it’s an untapped outdoor room waiting to happen. Here’s how to transform it into one of the most useful areas of your property.
If you have a second-story deck, you already have something many homeowners don’t: a covered outdoor space. The deck above provides natural shade and—with the right approach—protection from rain. What you do with that space can add significant value to your home and dramatically expand your outdoor living options.
The key is doing it right. A poorly planned under-deck space becomes a dumping ground for forgotten patio furniture and leaky frustration. A well-designed one becomes a destination—a place your family actually uses and enjoys.
What’s Possible: Under-Deck Space Ideas
Before diving into the how, let’s explore the what. Under-deck spaces can become almost anything, depending on your needs and budget.
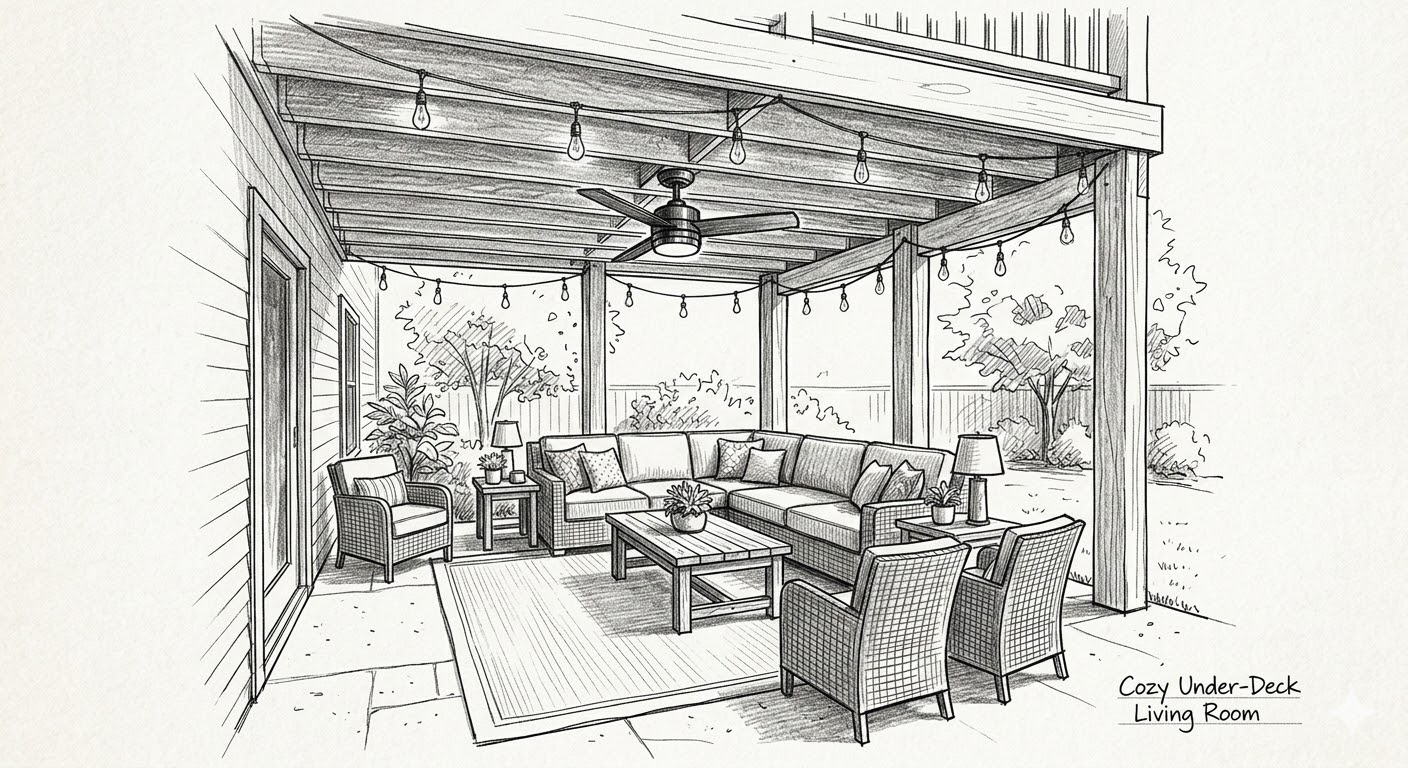
Outdoor Living Room
The most popular use for under-deck space is an extension of your indoor living area. With proper weatherproofing overhead, you can furnish it like an actual room:
- Comfortable seating—sofas, armchairs, even outdoor sectionals
- Coffee tables and side tables
- Outdoor rugs that define the space
- Lighting for evening use
- Ceiling fans for air circulation on humid days
The shade from the deck above keeps this space cool even in summer, and with watertight decking overhead, rain doesn’t end the party.
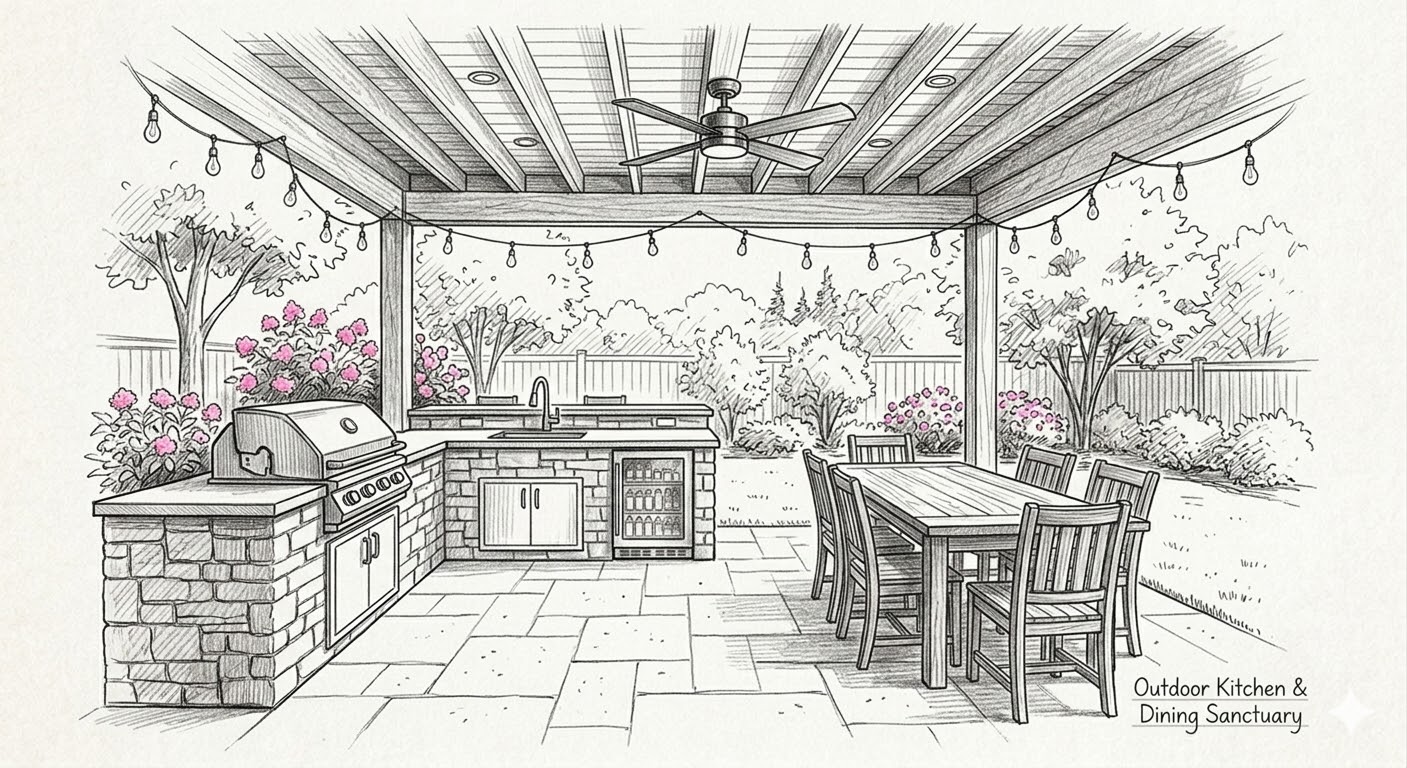
Outdoor Kitchen and Dining
Under-deck spaces make excellent outdoor kitchens because the deck provides built-in overhead protection. Consider:
- Built-in grill or full outdoor kitchen setup
- Countertop space for prep and serving
- Dining table with seating for family meals
- Mini fridge or beverage cooler
- Sink with running water (if plumbing is accessible)
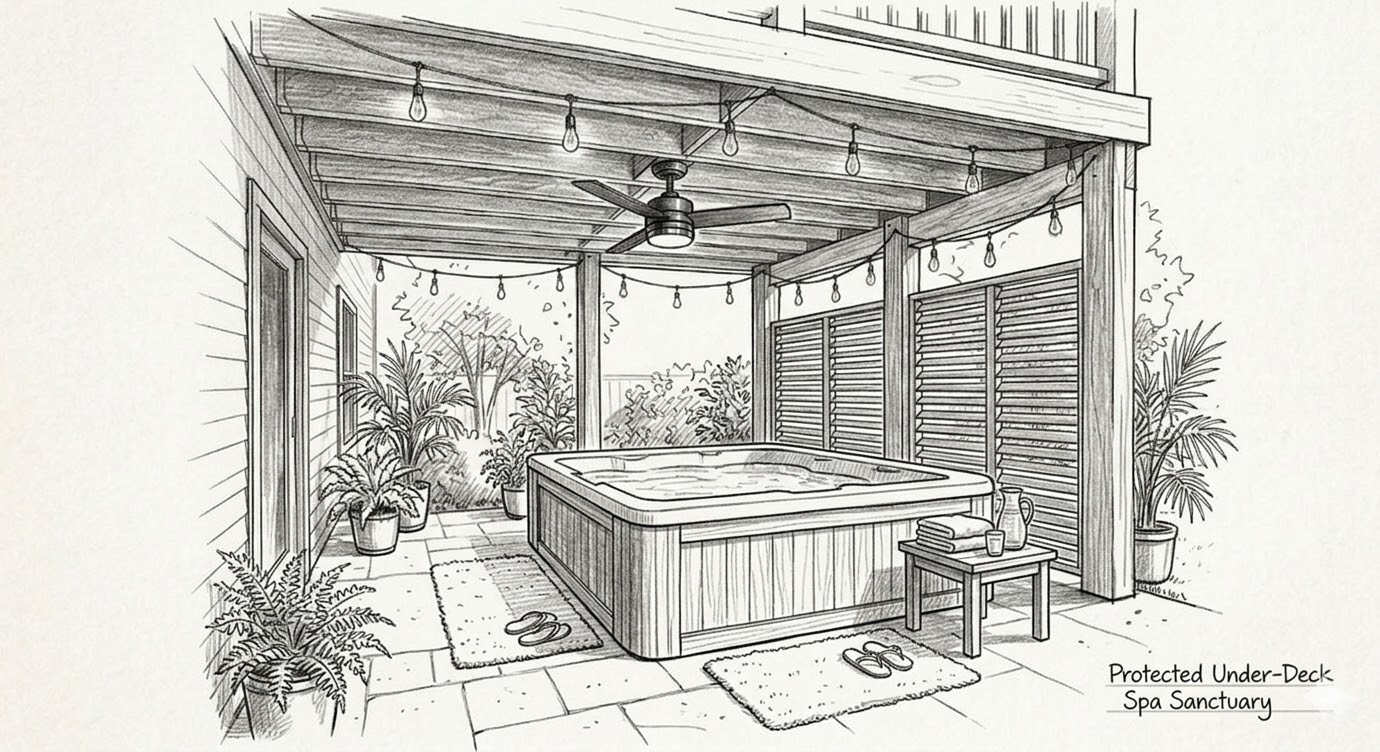
Protected Hot Tub or Spa Area
Hot tubs need protection from falling debris and benefit from privacy screening. Under-deck placement offers:
- Natural overhead coverage
- Easy integration with deck structure for privacy screens
- Protection from leaves, bird droppings, and tree debris
- A more intimate, enclosed feeling than open placement
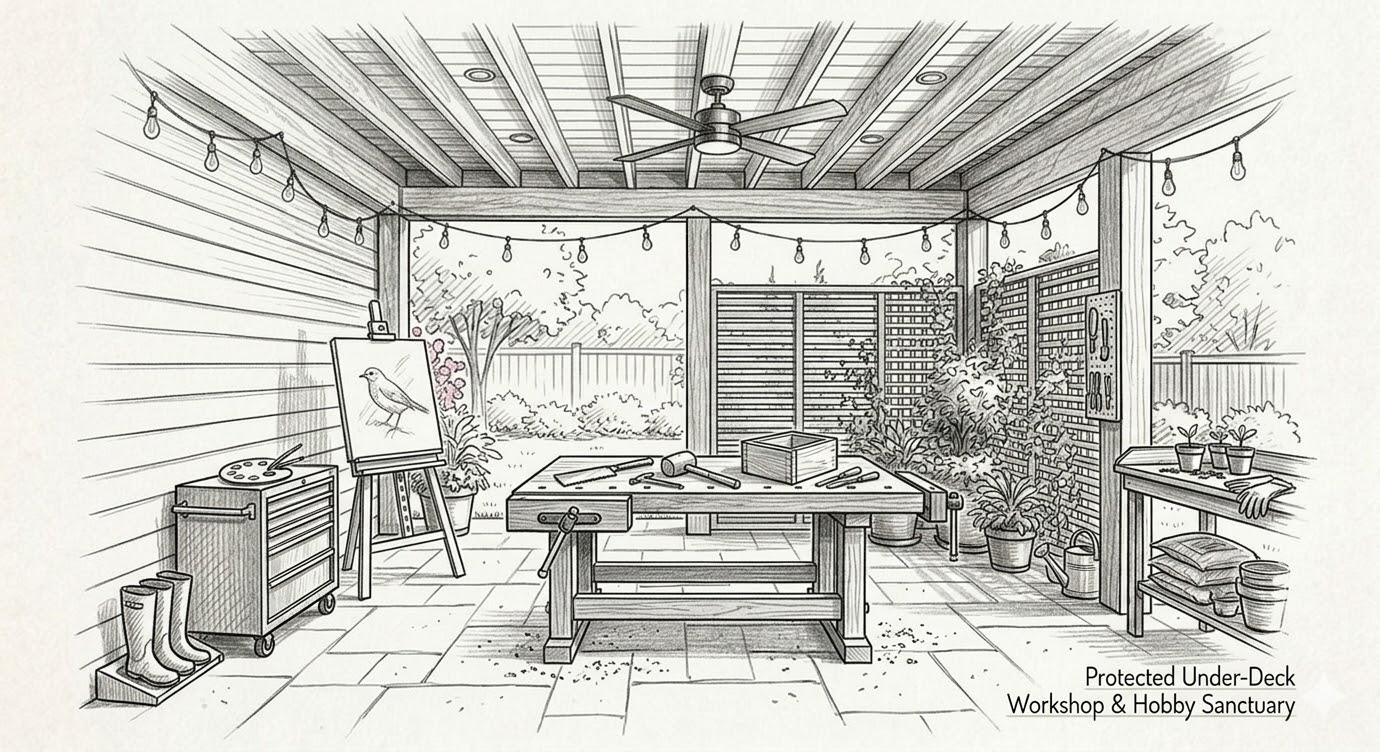
Workshop or Hobby Space
Need somewhere to work on projects without taking over the garage? Under-deck spaces can become:
- Woodworking areas with workbenches
- Potting stations for gardening
- Art studios with natural light from the sides
- General workshop space for repairs and projects
The key is ensuring the space stays dry. Nothing ruins a workshop faster than water dripping onto your tools and materials.
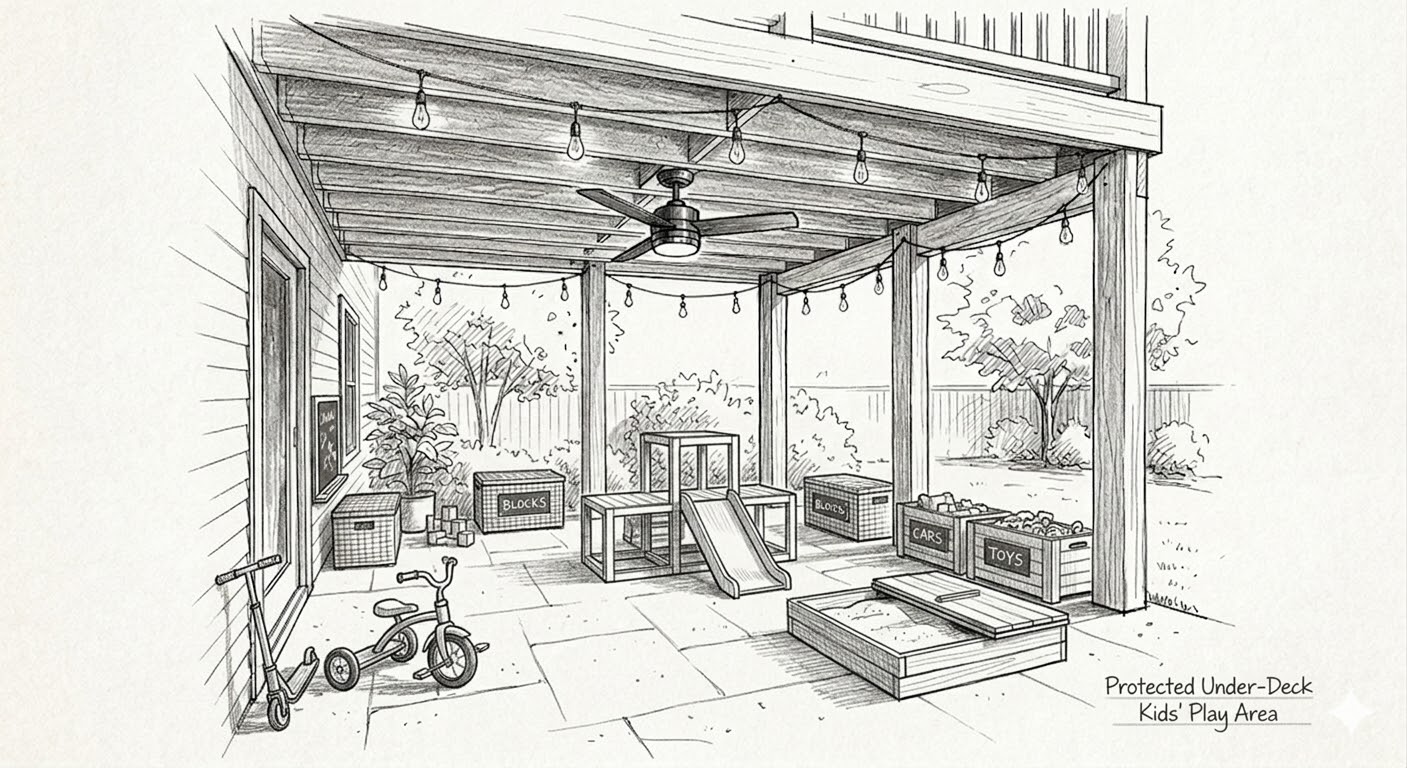
Kids’ Play Area
A shaded, protected play space keeps children cool and dry while remaining visible from inside the house:
- Play structures that stay dry
- Sandbox protected from rain and animal visitors
- Outdoor toy storage
- Space for bikes, scooters, and ride-on toys
- Chalk walls or outdoor art stations
Parents appreciate being able to send kids outside even when weather is uncertain.

Storage That Actually Works
Let’s be practical—sometimes you just need storage. But under-deck storage doesn’t have to mean “pile of stuff that gets rained on”:
- Lawn equipment and garden tools
- Patio furniture cushions (in a space that stays dry)
- Seasonal decorations
- Pool supplies and toys
- Firewood storage
The difference between useful under-deck storage and a frustrating mess comes down to one thing: keeping water out.
The Critical Factor: Water tightness
Here’s the reality that determines everything else: if water drips through your deck, none of these ideas work.
You can invest in beautiful patio furniture, but if it gets soaked every time it rains, the cushions mold and the frames rust. You can build an outdoor kitchen, but water dripping onto your grill and countertops creates constant maintenance headaches. You can store equipment underneath, but moisture damage will destroy it over time.
Watertight isn’t optional—it’s the foundation that makes everything else possible.
Traditional Approaches (and Their Limitations)
Homeowners typically consider three options for watertight under-deck spaces:
Under-deck drainage systems install troughs or panels beneath your existing deck boards. Water passes through the deck, gets caught by the drainage system, and channels to the edges.
The problems: debris clogs the troughs, seams fail over time, and water still contacts your deck framing every time it rains. These systems require ongoing maintenance and eventually fail. (We covered this in detail in our article on [why under-deck drainage systems fail].)
Under-deck ceilings create a finished ceiling appearance below the deck, with integrated drainage. They look nice when new but share similar failure modes with drainage systems—plus they’re a separate installation from your deck boards, adding cost and complexity.
Tarps and makeshift covers are the budget approach. They’re ugly, they fail quickly, and they signal to everyone that you gave up on doing it right.
The Better Approach: Watertight Decking
What if, instead of trying to manage water after it penetrates your deck, you stopped it at the surface?
That’s the principle behind watertight deck boards. The deck surface itself becomes the watertight barrier. Water never passes through. Your framing stays dry. And the space below stays completely protected—not “mostly dry” or “dry enough,” but actually dry.
This approach eliminates the maintenance burden of drainage systems and delivers a finished ceiling appearance as part of the deck itself. One installation. One system. Complete protection.
Planning Your Under-Deck Space
Once watertight is handled, the fun begins. Here’s how to plan an under-deck space that actually works.
Assess Your Dimensions
Start with what you have:
- Ceiling height: Measure from ground to the bottom of your deck joists. Seven feet is comfortable for most uses. Under six feet starts feeling cramped for anything other than storage.
- Footprint: Measure the usable area. Remember that deck posts and any support structures will interrupt the space.
- Access points: How do you enter the space? From the yard? Through a walkout basement door? This affects furniture layout and traffic flow.
Consider Drainage at Ground Level
Water that hits your deck surface needs somewhere to go. It will run off the edges and land on the ground below. Plan for this:
- Grading: The ground should slope away from your home’s foundation
- Surface material: Pavers, concrete, gravel, or flagstone all handle water differently than grass
- French drains: In problem areas, subsurface drainage may be necessary
Don’t create a beautiful under-deck space only to have it flood because ground-level drainage was ignored.
Plan Your Flooring
The ground beneath a deck is rarely ready for immediate use. Options include:
Concrete patio: The most durable option. Provides a solid, level surface for any use. Higher cost but essentially permanent.
Pavers: Attractive and relatively DIY-friendly. Allow water to drain between joints. Many styles available to match your aesthetic.
Gravel or crushed stone: Budget-friendly and excellent drainage. Best for casual use or storage areas. Not ideal for furniture with thin legs.
Outdoor tile: Can be installed over concrete for a high-end look. Requires proper base preparation.
Composite deck tiles: Snap-together systems that install over flat surfaces. Easy to install and remove. Good for renters or temporary setups.
Think About Lighting
Under-deck spaces are shaded by design—which is great for hot days but means you’ll need lighting for evenings and overcast days.
Ceiling-mounted options:
- Recessed can lights (if your deck boards allow)
- Surface-mounted fixtures
- Outdoor ceiling fans with integrated lights
- String lights for ambient atmosphere
Other lighting strategies:
- Post-mounted fixtures at deck support columns
- Landscape lighting around the perimeter
- Table and floor lamps rated for outdoor use
- Solar-powered path lights
Plan electrical access early. Running power after everything else is installed is much more difficult.
Address Privacy and Screening
Depending on your yard layout, you may want to screen parts of the under-deck space:
- Lattice panels: Classic look, easy to install, allows airflow
- Outdoor curtains: Flexible, can be opened or closed as needed
- Privacy screens: Solid or semi-solid panels for complete screening
- Landscaping: Shrubs and plantings as natural barriers
- Decorative fencing: Can match or complement existing yard fencing
Don’t Forget Climate Control
Under-deck spaces stay cooler than open patios, but on hot, humid days, they can still be uncomfortable:
- Ceiling fans: Essential for air circulation
- Outdoor-rated portable fans: Supplement for especially hot days
- Misting systems: Can reduce perceived temperature significantly
- Patio heaters: Extend usability into cooler months
Real-World Under-Deck Transformations
To give you a sense of what’s possible, here are some common transformations we see:
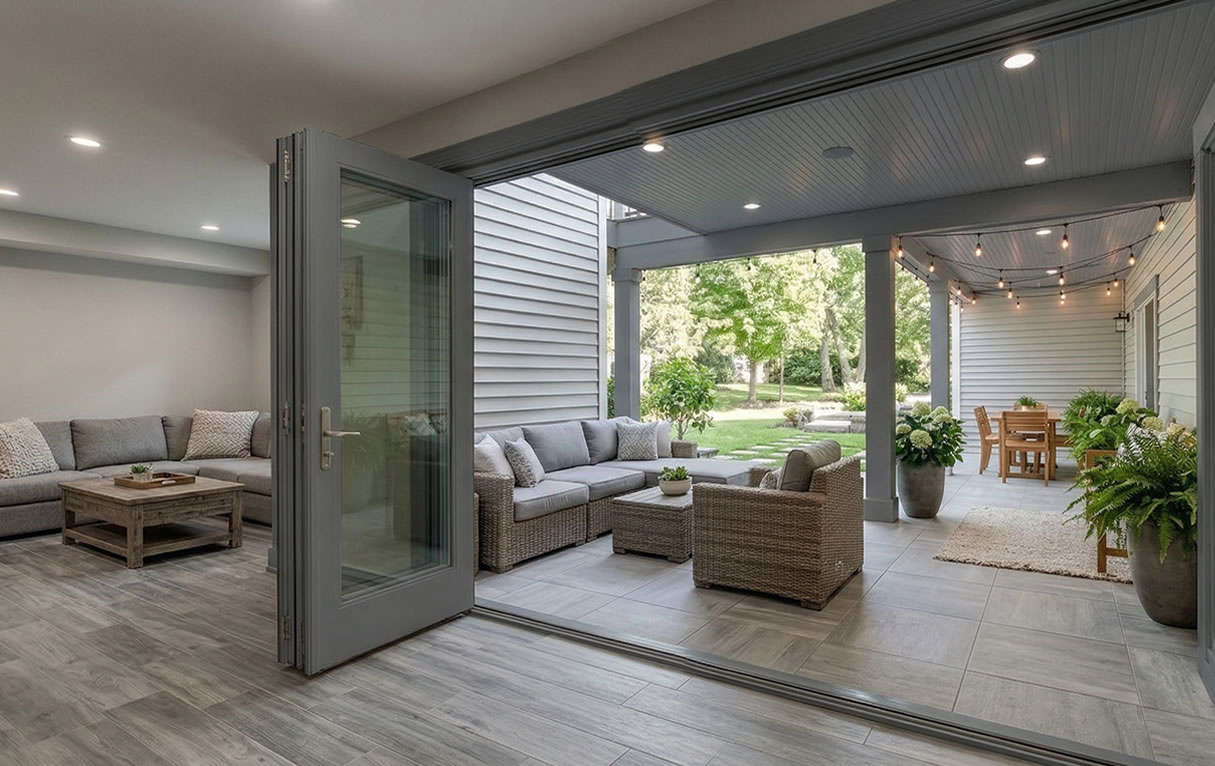
The Seamless Indoor-Outdoor Transition
A walkout basement with doors opening directly onto the under-deck patio. Watertight decking above ensures the space is usable year-round. Matching flooring inside and out creates visual continuity. Furniture arranged to feel like a true extension of the interior living space.

The Outdoor Entertainment Hub
Full outdoor kitchen along one wall—grill, counters, sink, mini fridge. Dining table for eight. Lounge seating around a corner. TV mounted for game days. String lights overhead. Space that handles everything from weeknight dinners to large parties.
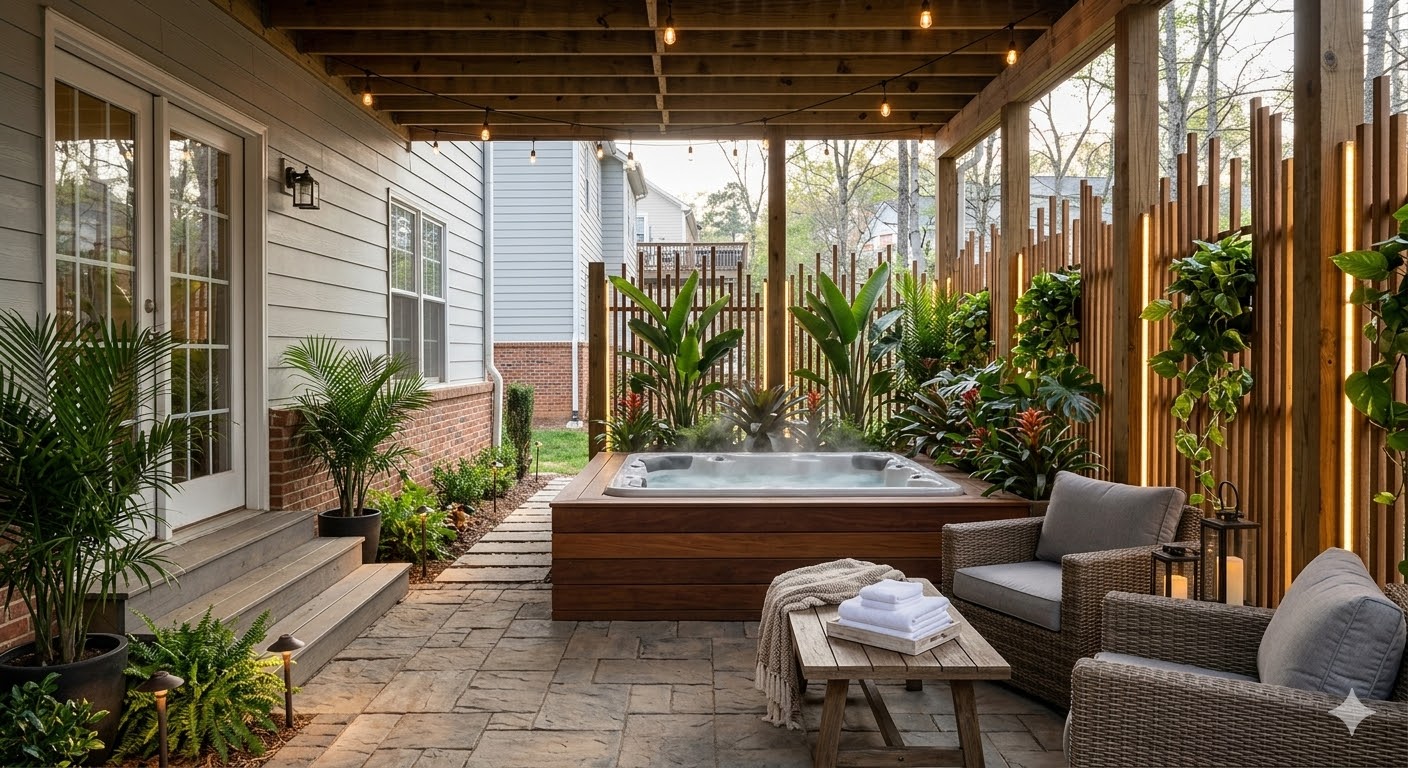
The Private Retreat
Hot tub as the centerpiece. Privacy screening on two sides. Comfortable seating nearby. Soft lighting. Tropical plantings. A spa-like escape steps from the back door.
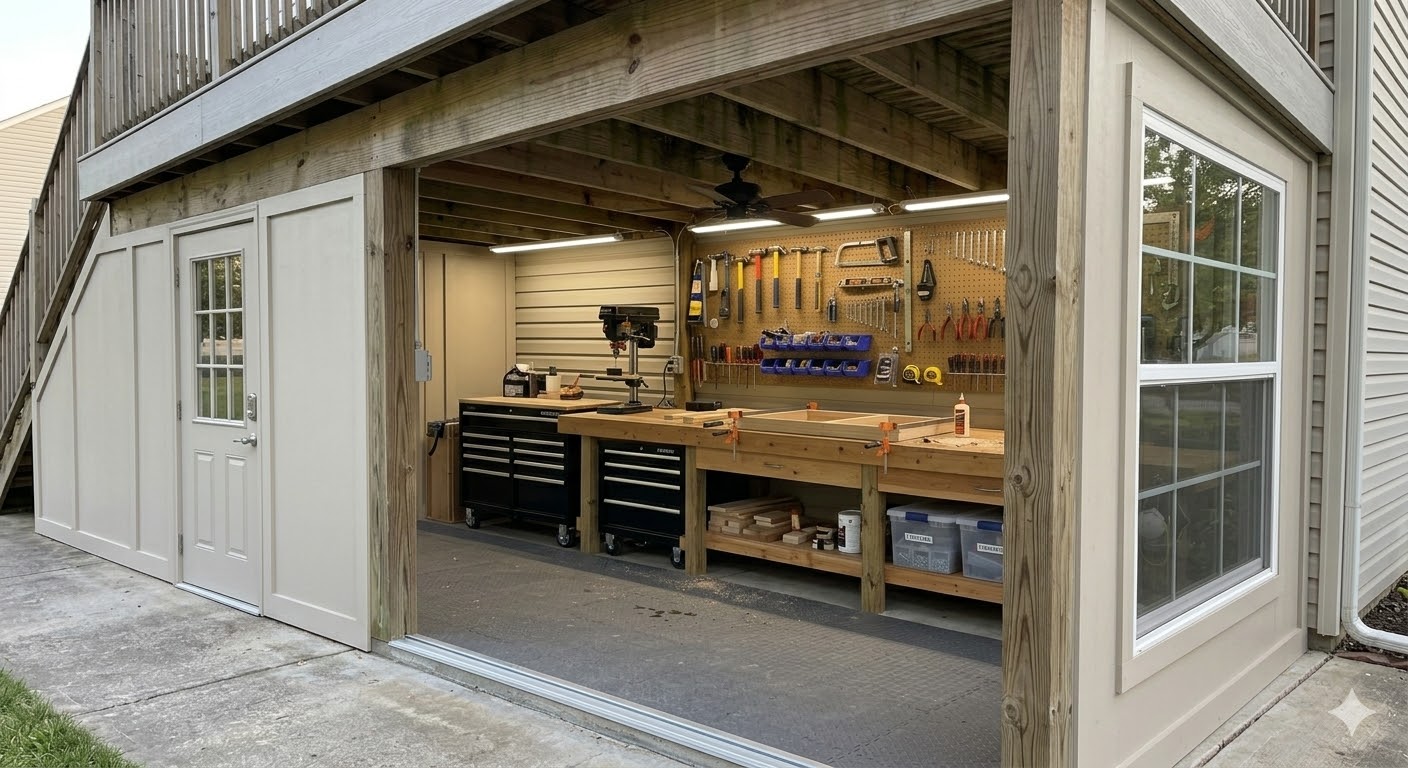
The Functional Workshop
Workbench along the back wall. Pegboard for tool storage. Good task lighting. Durable flooring that can handle dropped tools and spilled stain. A dedicated space for projects that doesn’t compete with car space in the garage.
Making It Happen with Admiral SpaceMaker
Every one of these transformations depends on the same foundation: a deck system that keeps water out completely.
Admiral SpaceMaker makes these under-deck spaces possible by delivering what traditional drainage systems can’t—100% watertight protection from above.
Solid-core construction means no hidden chambers where moisture accumulates. The Super Seal gasket system creates watertight connections between boards without relying on caulk or sealants. The finished underside looks like an intentional ceiling, not industrial drainage equipment.
When you install SpaceMaker decking, you’re not just building a deck—you’re creating two outdoor spaces: the deck surface above and the protected room below. Both are designed to be used and enjoyed, not just tolerated.
Getting Started
If you’re ready to transform the space under your second-story deck, here’s the path forward:
- Assess your current deck condition. Is it time for replacement anyway? If so, consider SpaceMaker as your new deck surface and solve both problems at once.
- Evaluate watertight options. If your existing deck is in good shape, you’ll need to address water tightness before investing in the space below. Understand the trade-offs between drainage systems and watertight decking.
- Plan the space itself. Decide what you want to use it for. Measure carefully. Consider ground-level drainage, flooring, electrical, and lighting needs.
- Budget for the complete project. The watertight solution, ground preparation, flooring, furnishings, and finishing touches all factor into the total investment.
- Consult with professionals. Complex projects benefit from expert input—especially anything involving electrical, plumbing, or structural modifications.
The space under your second-story deck is waiting. What will you do with it?
Ready to explore what’s possible? [Browse our project gallery] to see real under-deck transformations, or [contact us for a consultation] to discuss your project.
Related Articles:
- Why Most Under-Deck Drainage Systems Fail (And What Actually Works)
- The Hidden Problem with Hollow-Core Watertight Decking
- 15 Ways to Use the Dry Space Under Your Deck