
If you’re weighing a deck against a screened porch, or trying to figure out how to make both work on a sloped lot or a walk-out basement, you’re already past the “what do we want” stage. The real question now is how to get the outdoor living space you actually pictured without doubling your budget or losing half your yard to two competing structures. There’s a way to get both – a sunny elevated deck and a dry, shaded space below it – built as one connected system.
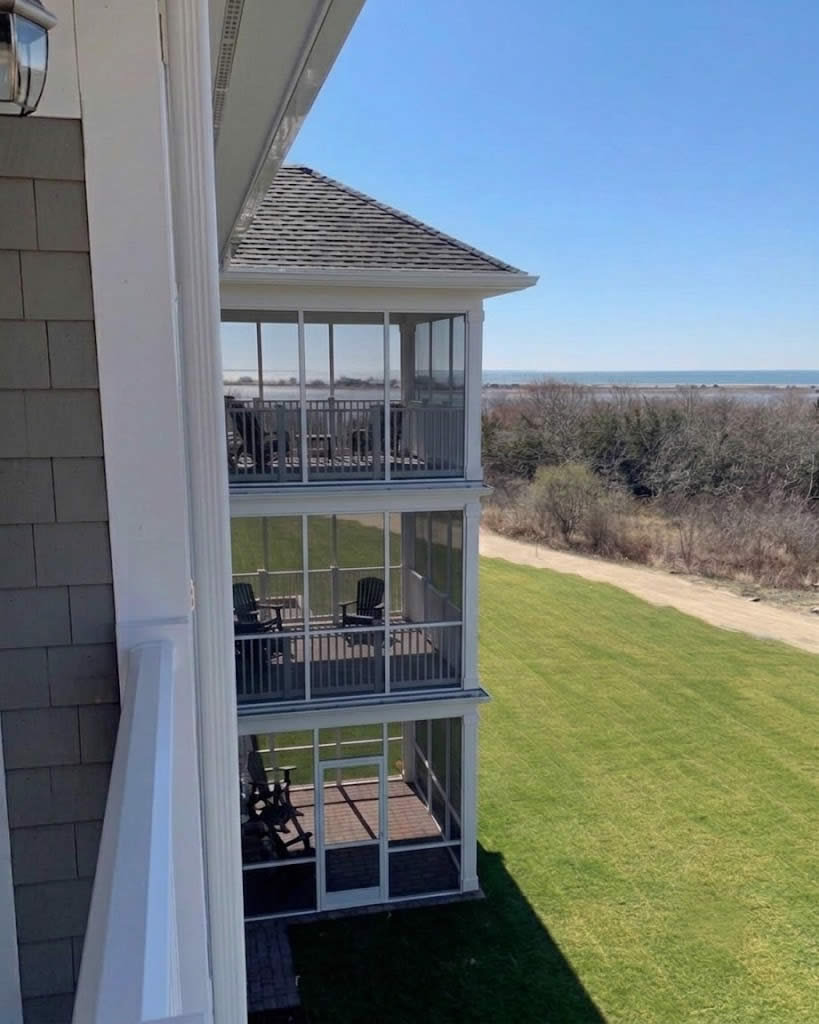
The Screened Porch Cost Problem
A raised deck off the back of the house is great for entertaining, grilling, and taking in the yard, but it leaves the ground-level space underneath mostly wasted. With a standard gapped deck, that lower area gets rained on every time it storms, so it ends up as either an eyesore of exposed joists and drips, or an area that gets boxed in with lattice and forgotten.
The obvious fix – a separate screened porch or hardscape patio at ground level – solves the shade and shelter problem, but it’s genuinely a second construction project with its own price tag:
- Standalone screened porch: commonly runs $25–$60 per square foot once you account for its own footings, framing, roof structure, screening, and often a separate permit and inspection cycle. A modest 200 sq. ft. screened porch can land anywhere from $5,000 to $12,000+, before a dollar has been spent on the deck itself.
- Covered hardscape patio: a poured or paver patio with its own pergola or roof structure typically runs $20–$45 per square foot, plus excavation and drainage work if the yard slopes.
- Elevated deck alone: a standard elevated composite deck typically runs $35–$60 per square foot installed, largely driven by the footings and structural framing needed to support it off the ground.
Stack a standalone porch or covered patio on top of that deck cost, and most homeowners are pricing out two separate line items, two sets of footings, and two rooflines competing for the same 300–600 square feet of yard.
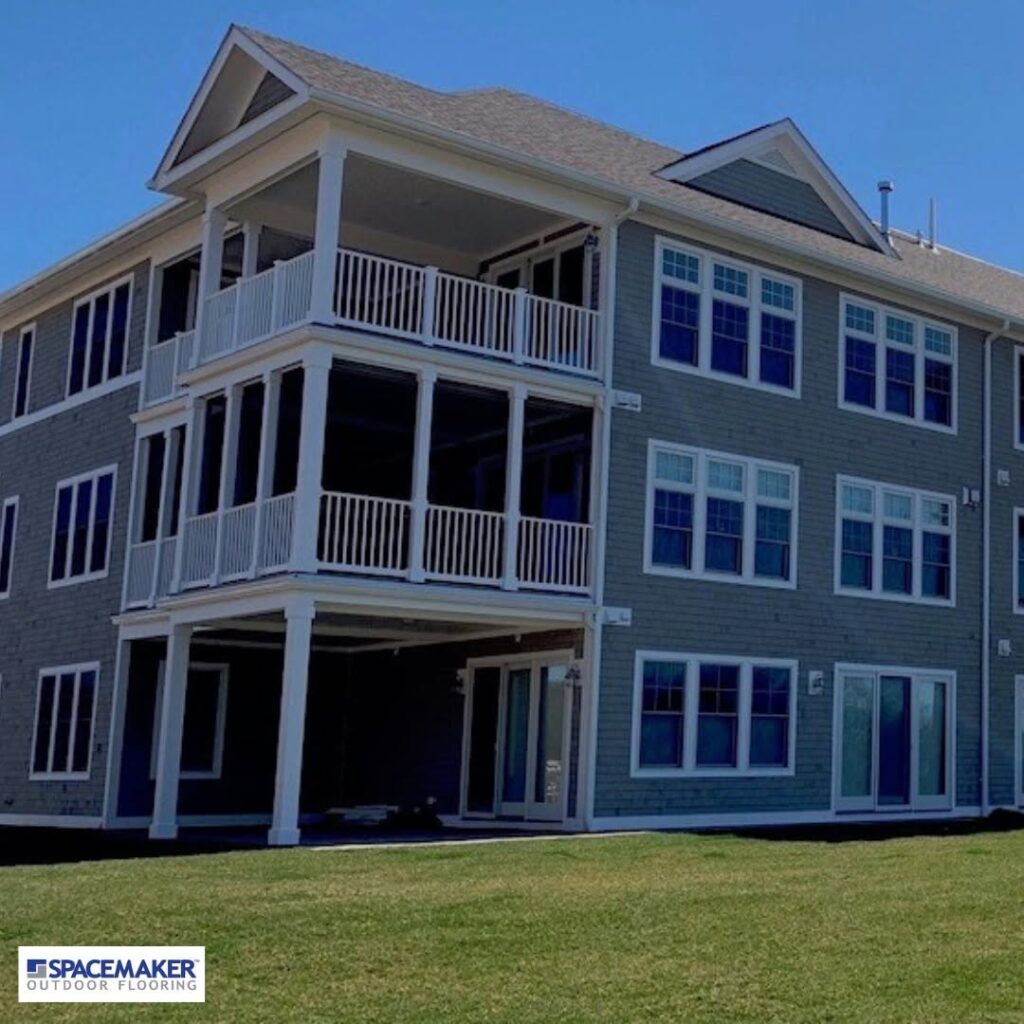
Elevated Deck Ideas That Solve This Natively
An elevated deck built with Admiral SpaceMaker composite decking removes that tradeoff, because the deck surface itself doubles as a finished, weather-tight ceiling for the level below – using the structure you were already building anyway.
Instead of standard gapped boards, SpaceMaker uses an interlocking tongue-and-groove system that channels rainwater across the top of the deck along its built-in slope and out to a perimeter drainage edge, rather than letting it drip through to the space underneath. Structurally, the deck still needs the same footings, beams, and joists a standard elevated deck would require to meet local building code for the span and load – SpaceMaker isn’t adding a second structural system, it’s changing what the existing frame does with water. That’s what keeps the added cost of the second level closer to a marginal upgrade than a second full build.
The result is a genuine multi-level deck with a screened porch built in, not bolted on:
- Upstairs: an open, sunny deck for dining, lounging, or a hot tub – typically the same footprint you’d already planned.
- Downstairs: a dry, shaded space ready to be finished as a porch, patio, or outdoor room, without the cost of a separate roof structure, separate footings, or a second permit for a standalone building.
What This Looks Like on a Real Deck
Take a common scenario: a 16’ x 20’ elevated deck, or 320 square feet. Built as a standard gapped deck, that’s 320 square feet of usable outdoor space, full stop, with the ground below left as unusable, muddy, rain-exposed crawl space.
Built with SpaceMaker, that same footprint delivers 320 square feet on top and another roughly 300 square feet of dry, usable space below (accounting for support posts and stairs) – a combined 600+ square feet of functional outdoor living area on a single structure’s footings.
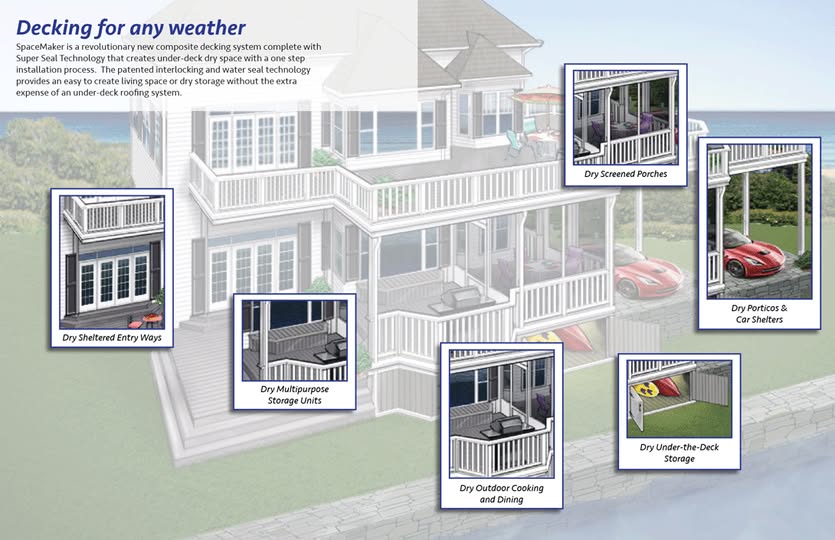
Under Deck Living Space: What to Do With It
Once the lower level is protected from the weather, it opens up options that wouldn’t make sense in an exposed, rain-prone area:
- A screened-in seating area. Add insect screening around the perimeter and the dry space underneath becomes a bug-free spot to relax on summer evenings, without the cost of a full sunroom build.
- An outdoor TV and media setup. Electronics that would never survive direct rain exposure can live comfortably under a SpaceMaker deck, turning the lower level into a genuine outdoor living room.
- A covered grilling or outdoor kitchen station. Keep a grill, smoker, or prep counter sheltered year-round, so weather stops being a factor in weekend cooking plans.
- Storage that stays dry. Patio furniture cushions, cornhole boards, or seasonal gear can be stored underneath without worrying about mildew or water damage.
- A simple, low-maintenance patio. Even left open, the space below stays usable on rainy days when an uncovered patio elsewhere in the yard would be soaked.
Sloped Yard Deck Considerations Worth Raising With Your Contractor
A few practical factors affect how well this fits a given property, and they’re worth raising early in the design process rather than after footings are poured:
- Deck height and clearance. The lower level needs enough clearance – generally at least 7–8 feet for a comfortable ceiling height – to function as real living space rather than storage-only. This makes the approach a particularly strong fit for walk-out basements and sloped lots where the deck is already elevated 8+ feet by the terrain.
- Slope and drainage direction. SpaceMaker’s tongue-and-groove system relies on a built-in slope (commonly around 1/4” per foot) to move water to the perimeter edge. Your contractor will factor this into the framing plan alongside the site’s natural grade.
- Gutter and downspout integration. Because water is actively being channeled off the deck’s edge rather than dripping through randomly, it’s worth routing that runoff into a gutter and downspout system so it’s directed away from the foundation.
- Local permitting. Combining two “spaces” into one structure can actually simplify permitting compared to two separate builds, but it’s worth confirming with your local building department how an under-deck living space is classified in your jurisdiction.
Where This Leaves You
If you’ve made it this far, you likely already know you want more usable space than a single-level deck or a single standalone structure can give you on your budget. The remaining question is whether the tongue-and-groove drainage system delivers what it claims – and that’s genuinely easier to judge in person than from a spec sheet. Homeowners weighing this against a standalone porch usually want to see the board overlap and feel how water is directed off the edge before committing a design around it.
See how the tongue-and-groove system keeps the lower level dry. Request a free SpaceMaker sample and get a firsthand look before you finalize your deck plans.